Getting Started
If you've completed the steps described in the Setup guides, you are now ready to implement our .NET library in your app. Our library supports Android 6+ and iOS 13+. Make sure you always have the latest .NET SDK when using this library.
Dependencies
We understand that not every app will take advantage of every bit of functionality provided by our platform. To help reduce your app's size, dependency footprint and automatically included permissions, you can cherry-pick which modules you want to include in your app.
# Required
dotnet add package Notificare

# Optional modules
dotnet add package Notificare.Inbox
dotnet add package Notificare.Push
dotnet add package Notificare.PushUI
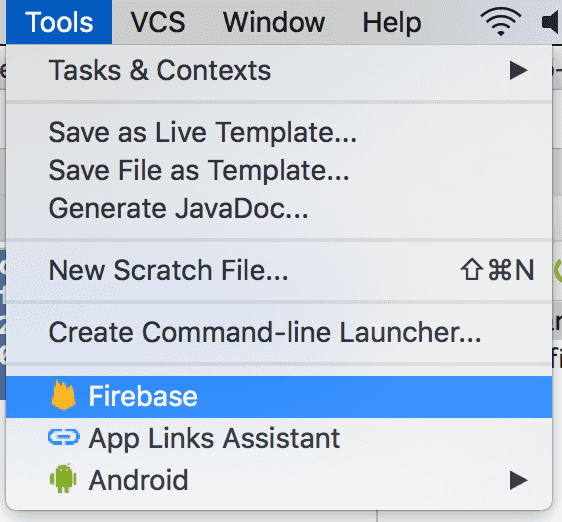
Add Firebase Cloud Messaging
Android Studio makes it easy to quickly import the FCM project you've created previously in your app. Simply expand the Tools menu and click in Firebase:
This will open an Assistant window like the one below:
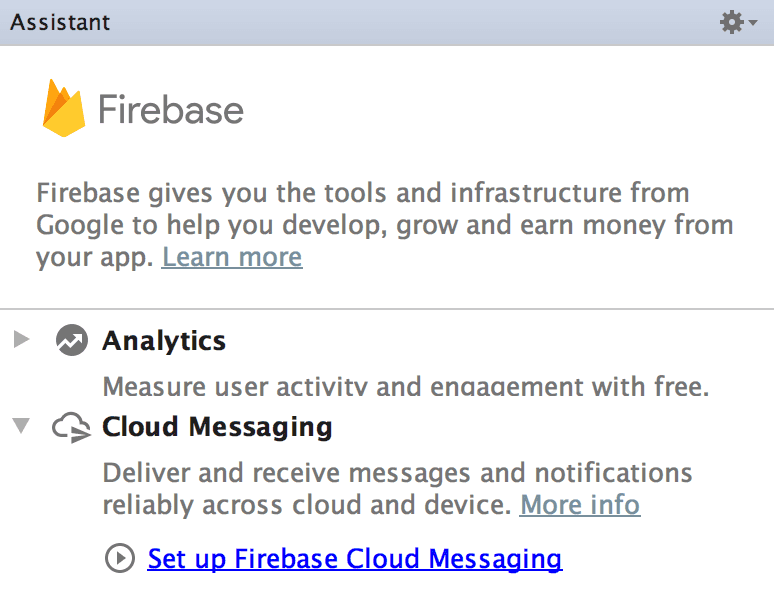
Simply click in the Set up Firebase Cloud Messaging and follow the guides in the following screen:
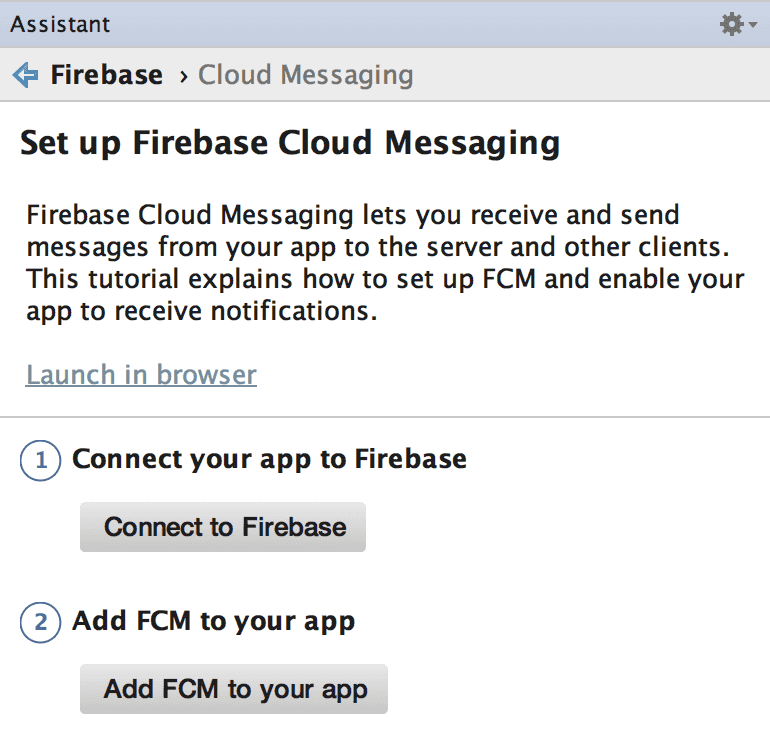
Completing the points above will prepare your app with everything needed to use the FCM project you've previously created.
A file app/google-services.json should have been created. This file will have the information about the Sender ID of your FCM project.
Configuration file
In order to connect your app to Notificare, you need to download the SDK configuration file that was dropped in the transfer box by the Actito team.
- Android
- iOS
Place the downloaded Android configuration file under Platforms/Android/notificare-services.json and add the following to your app's .csproj file.
<ItemGroup Condition="$(TargetFramework.Contains('android'))">
  <NotificareServicesJson Include="Platforms\Android\notificare-services.json" />
</ItemGroup>
For your reference, here's what this file should look like:
{
  "project_info": {
    "application_id": "{{ YOUR APPLICATION ID }}",
    "application_key": "{{ YOUR APPLICATION KEY }}",
    "application_secret": "{{ YOUR APPLICATION SECRET }}"
  }
}
It is recommended that you create at least two different apps in Notificare using separated environments for development and production. For each app you will have a different set of keys, resulting in two different configuration files. We recommend you to leverage MSBuild's conditions to manage which file will be embedded in the application. You read more about it in our Customizations section.
Place the downloaded iOS configuration file under Platforms/iOS/NotificareServices.plist and add the following to your app's .csproj file.
<ItemGroup Condition="$(TargetFramework.Contains('ios'))">
  <BundleResource Include="Platforms\iOS\NotificareServices.plist">
    <Link>NotificareServices.plist</Link>
  </BundleResource>
</ItemGroup>
For your reference, here's what this file should look like:
<?xml version="1.0" encoding="UTF-8"?>
<!DOCTYPE plist PUBLIC "-//Apple//DTD PLIST 1.0//EN" "http://www.apple.com/DTDs/PropertyList-1.0.dtd">
<plist version="1.0">
<dict>
    <key>APPLICATION_ID</key>
    <string>{{ YOUR APPLICATION ID }}</string>
    <key>APPLICATION_KEY</key>
    <string>{{ YOUR APPLICATION KEY }}</string>
    <key>APPLICATION_SECRET</key>
    <string>{{ YOUR APPLICATION SECRET }}</string>
</dict>
</plist>
It is recommended that you create at least two different apps in Notificare using separated environments for development and production. For each app you will have a different set of keys, resulting in two different configuration files. We recommend you to leverage MSBuild's conditions to manage which file will be embedded in the application. You read more about it in our Customizations section.
Notifications Activity
If you're planning on using the managed approach to display notifications, you should add a translucent theme to the NotificationActivity. This enables it to show floating alerts over your content on an Android app.
<application>
    <activity
        android:name="re.notifica.push.ui.NotificationActivity"
        android:theme="@style/Theme.App.Translucent" />
</application>
As a reference, you can use the example theme below. This needs to be added to your resources folder. Make sure the theme you inherit from is an AppCompat theme. For instance, Theme.AppCompat.Light.DarkActionBar.
<resources>
    <!-- adjust the name and parent to match your theme -->
    <style name="Theme.App.Translucent" parent="Theme.App">
        <item name="android:windowIsTranslucent">true</item>
        <item name="android:windowBackground">@android:color/transparent</item>
    </style>
</resources>
You can find additional information about the theming system in Android's official documentation located here.
Launching Notificare
Launching Notificare is as simple as calling Notificare.LaunchAsync(). However, before launching, you may want to consider customising some properties.
You should launch Notificare when the main application component initialises. A small code sample can be found below.
public partial class App : Application
{
    public App()
    {
        InitializeComponent();

        Task.Run(async () =>
        {
            try
            {
                await Notificare.LaunchAsync();
            }
            catch (Exception e)
            {
                Console.WriteLine($"Failed to launch Notificare: {e.Message}");
            }
        });
    }
}
You can delay launching Notificare for the first time. Otherwise, make sure you launch during the application's initialization phase to prevent missing important updates when the app is created in the background.
Although the launch is asynchronous and completes when Notificare is ready, you can also use the Notificare.Ready event to control the state of dependencies in your application initialization flow.
Listening to events
You can listen to the Notificare.onReady and Notificare.onDeviceRegistered events. This is a good opportunity to perform additional steps when Notificare becomes ready or when the device is updated.
Notificare.Ready += (sender, args) =>
{
    // At this point you have been assigned a temporary device identifier.
    // Notificare is now safe to use.
};

Notificare.DeviceRegistered += (sender, args) =>
{
    // At this point you know a device is registered with the Notificare API.
    // This method will be called once when the device is registered.
};
You should listen to the events as soon as possible during your app's initialization process to avoid missing any events.
Un-launch Notificare
It is possible to completely remove all data for a device, both locally in your app and remotely in our servers. You want to avoid doing so, but for cases when the user requests their account to be removed, you can use the following method:
await Notificare.unlaunch()
After invoking this, all the device's data will be destroyed and cannot be undone. Once the process is complete, the Notificare.onUnlaunched event will be executed.
Notificare.onUnlaunched.listen((application) {
  // All device data was deleted.
  // Notificare cannot be used until it's launched again.
});
At this point, invoking any other method in Notificare will fail, and the only way to start using the SDK again, is by invoking its counterpart, the launch method.