Setup
Using the React Native library will allow you to quickly implement push notifications in your app.
- The latest version of Android Studio
- The latest version of Xcode
- Access to the Apple's Developer Portal
Before you can start sending messages, you will need to set up the native platforms.
Android
Before you can start sending messages to Android, you will have to at least setup a FCM project and obtain a Google Maps key for Google Play Services based devices. This is all done via the Firebase Developer Console and Google Developer Console. Keep reading this document to know how to configure your push provider platform.
Creating a FCM Project
In 2016, Firebase Cloud Messaging replaced the GCM (Google's Cloud Messaging) and became Android's official push provider. To be able to send notifications you currently need to create a project in Firebase.
Start by signing in Firebase. In their developer page you will find a button like this one:

This will open a page like this one, where you should provide a name for your project:

Firebase will generate an ID for you project, but you can also customize it:

Depending on the capabilities you want to add to your project, you might need to enable or disable some options.
After creating your project, you will automatically be redirected to the project area where you can find a button like this one:

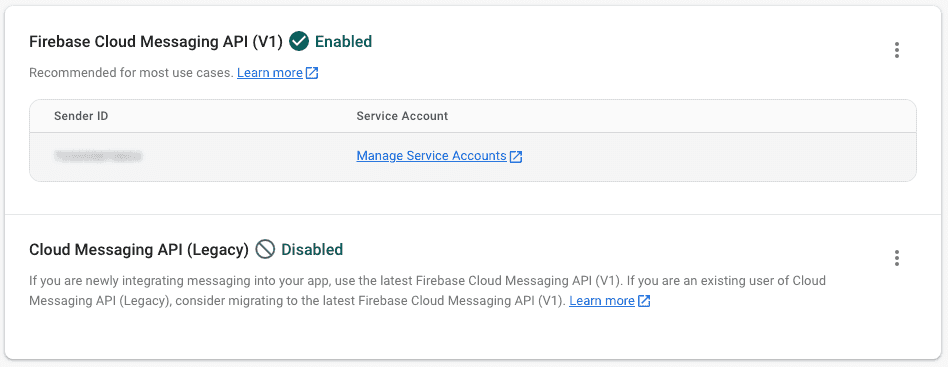
In the project settings page you will find a tab for Cloud Messaging:

Service Account
For newly created apps, we recommend using the Firebase Cloud Messaging API. This API uses a Service Account which you can manage in the Google Cloud Console, by clicking in Manage Service Accounts:
In this page you will find a list of service accounts (Firebase should create one automatically, but you can always create new ones):

You should then click in the service account, and navigate to the Keys tab:
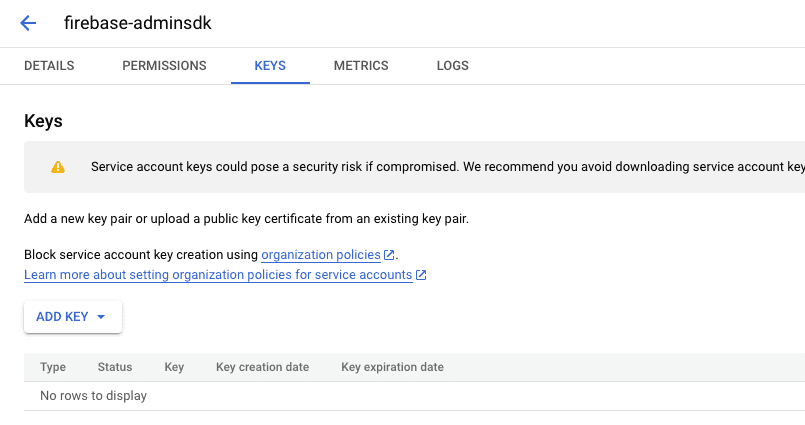
Go ahead and click in Add Key, which should open a window as the one below:

Select the JSON option and click Create. That should download a .json file to you computer.
Please provide this JSON file to the Actito team so they can finalize the configuration of your integration.
To share sensitive elements like the SDK files or keys for the Android/Huawei/iOS platforms, we use Actito's Transfer Box.
Once Actito have received the .json and finalized the integration, they will provide you with the SDK configuration file. Keep reading our Implementation guides located here.
iOS
The first thing you will have to do is issue an APNS certificate. This is done via Apple's Developer Portal. Keep reading this document to learn how to create an APNS certificate.
Creating an App ID
In this document we will assume you did not create an App ID yet and we will guide through this process.
Start by signing in Apple's Developer Portal. Once you've sign in, you should click in the Certificates, IDs & Profiles menu item:
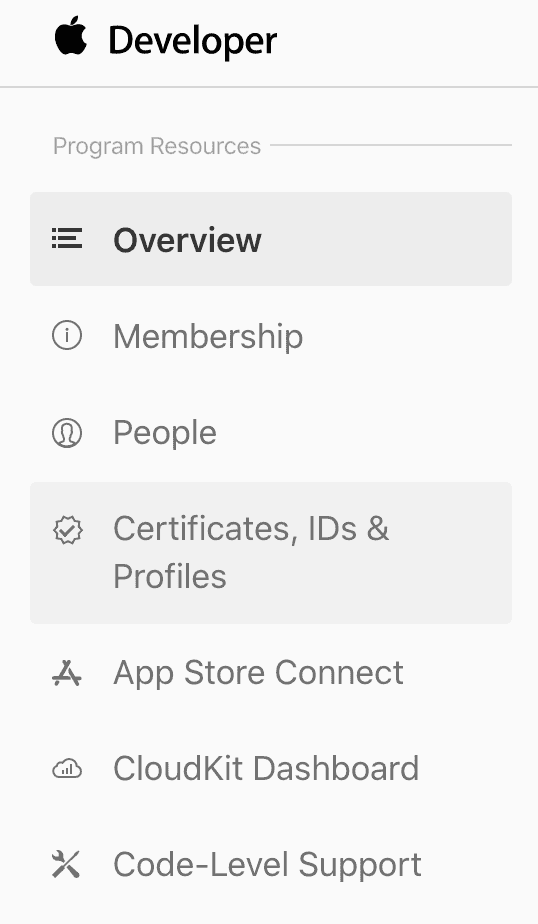
This will take you to a new page where you should locate the Identifiers menu item:

In this new page, click in the plus icon:

In this page, select the App IDs option:

Then go ahead and click in Continue:

You are now about to register a new app, start by providing a name for your app and the identifier for your app, this should take the form of a reverse DNS name (eg.: com.mydomain.myapp):

Finally you should select which capabilities your app will use. Obviously you should check all the services you want to use:
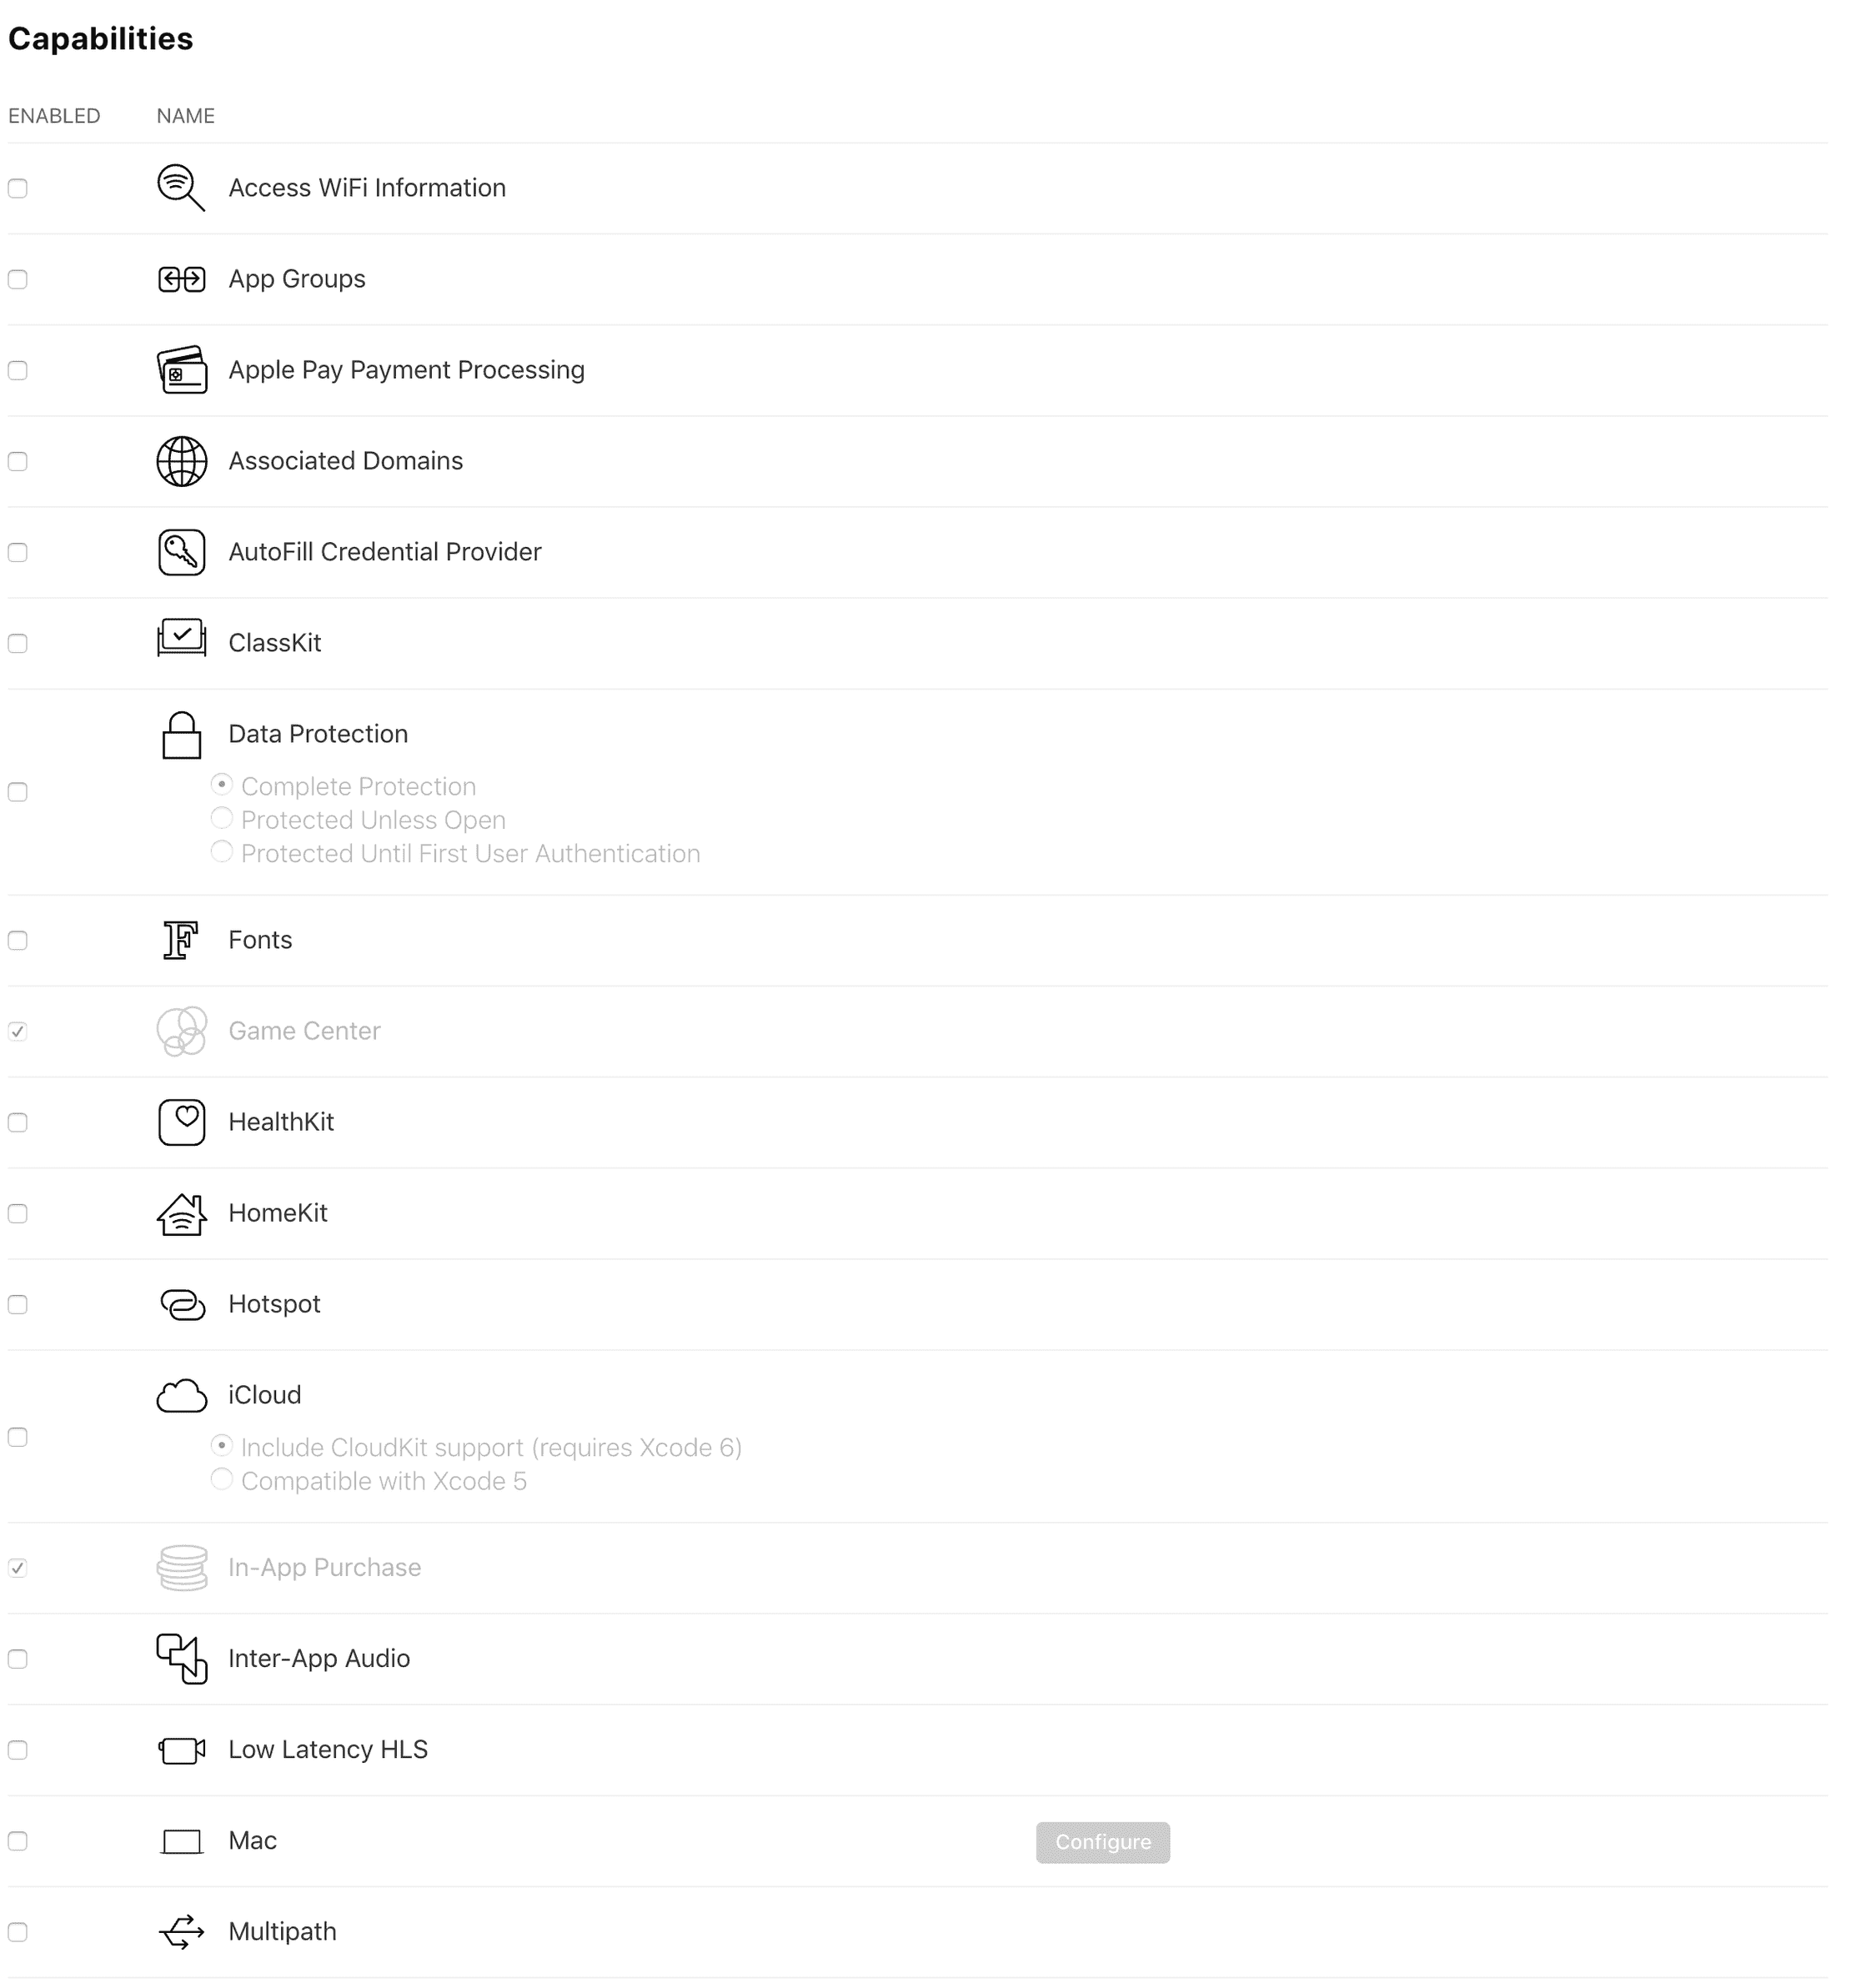
Once you are done selecting your app's capabilities, click in Continue:
You will then see the confirmation screen with all the services you've selected, if everything is OK go ahead and finish creating your App ID by clicking in Register:

After that, your app will be in the list of App IDs as shown below:

Generate an APNS Auth Key
Apple introduced this new authentication mechanism with the new APNS service launched in 2016. With these auth keys, you are able to generate one single key for all the apps in your Apple's Developer account. These keys also never expire which makes it easier to manage although if you revoke and generate a new key used by multiple apps, you will need to upload it to all the providers where the revoked key is used.
In Apple's Developer Portal, locate the Certificates, IDs & Profiles menu item:

In this new page, click in the Keys menu item:

Then go ahead and click in the plus icon:

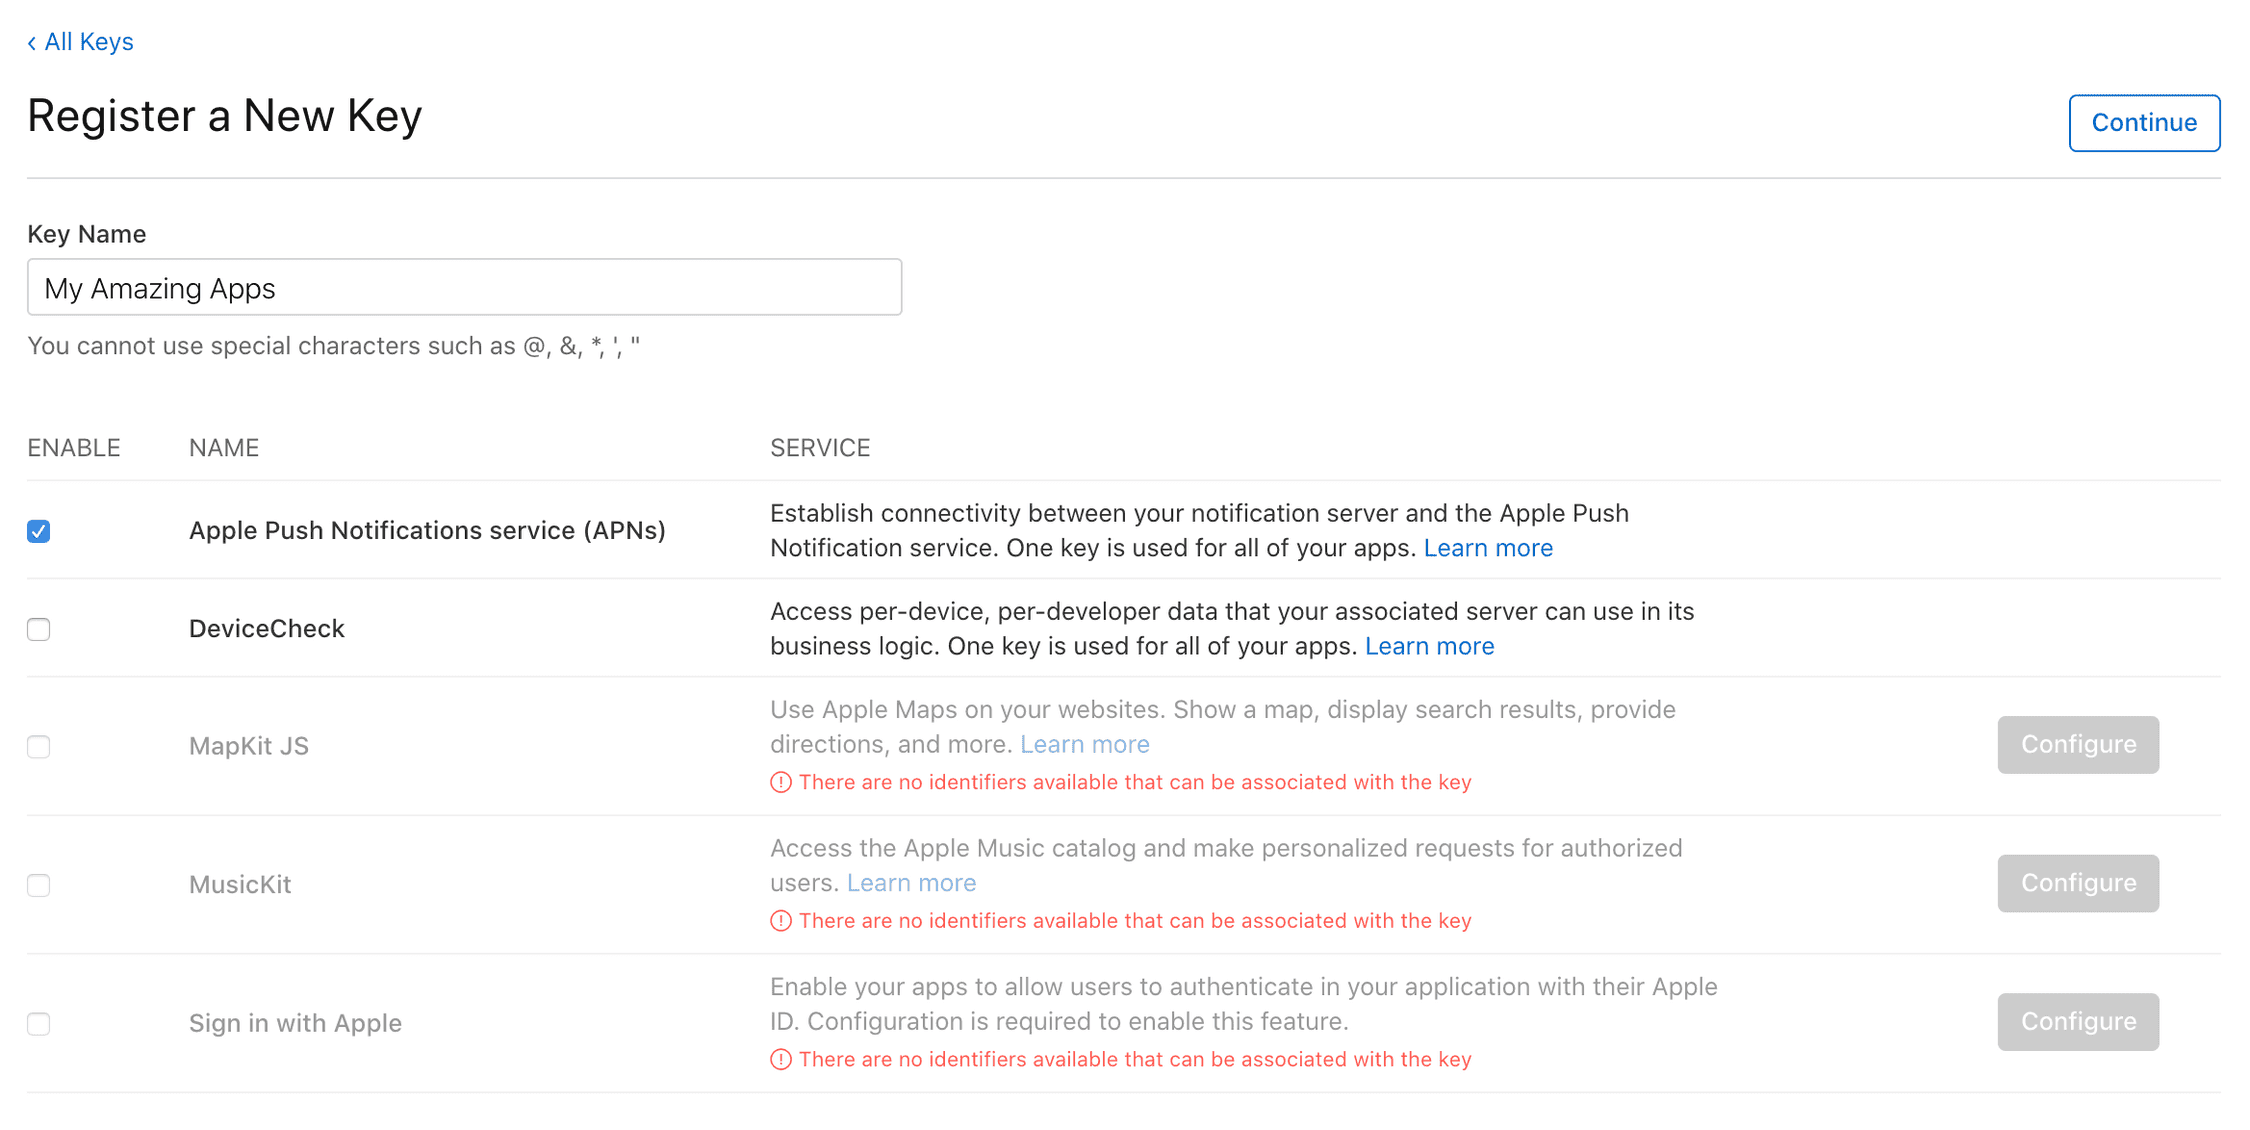
In this new page, name the key you are about to register and select the services you want to use (in this case you should select Apple Push Notification service):
Click in the Continue button:
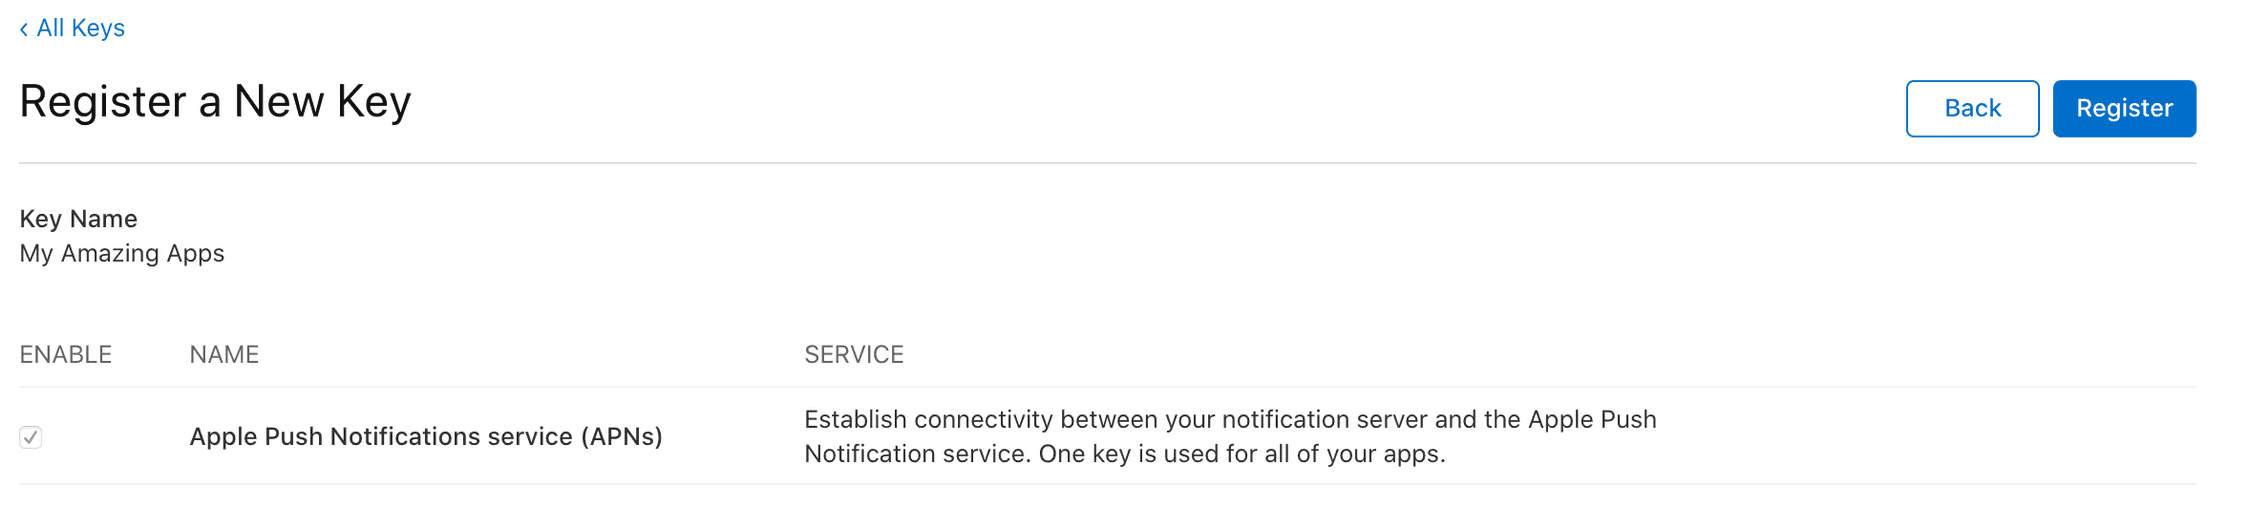
In the next page, confirm the data and click in the Register button:
Once you've registered the new key you can either download it or postpone that download for a later time. Please note that once you've downloaded it, you cannot do it again:
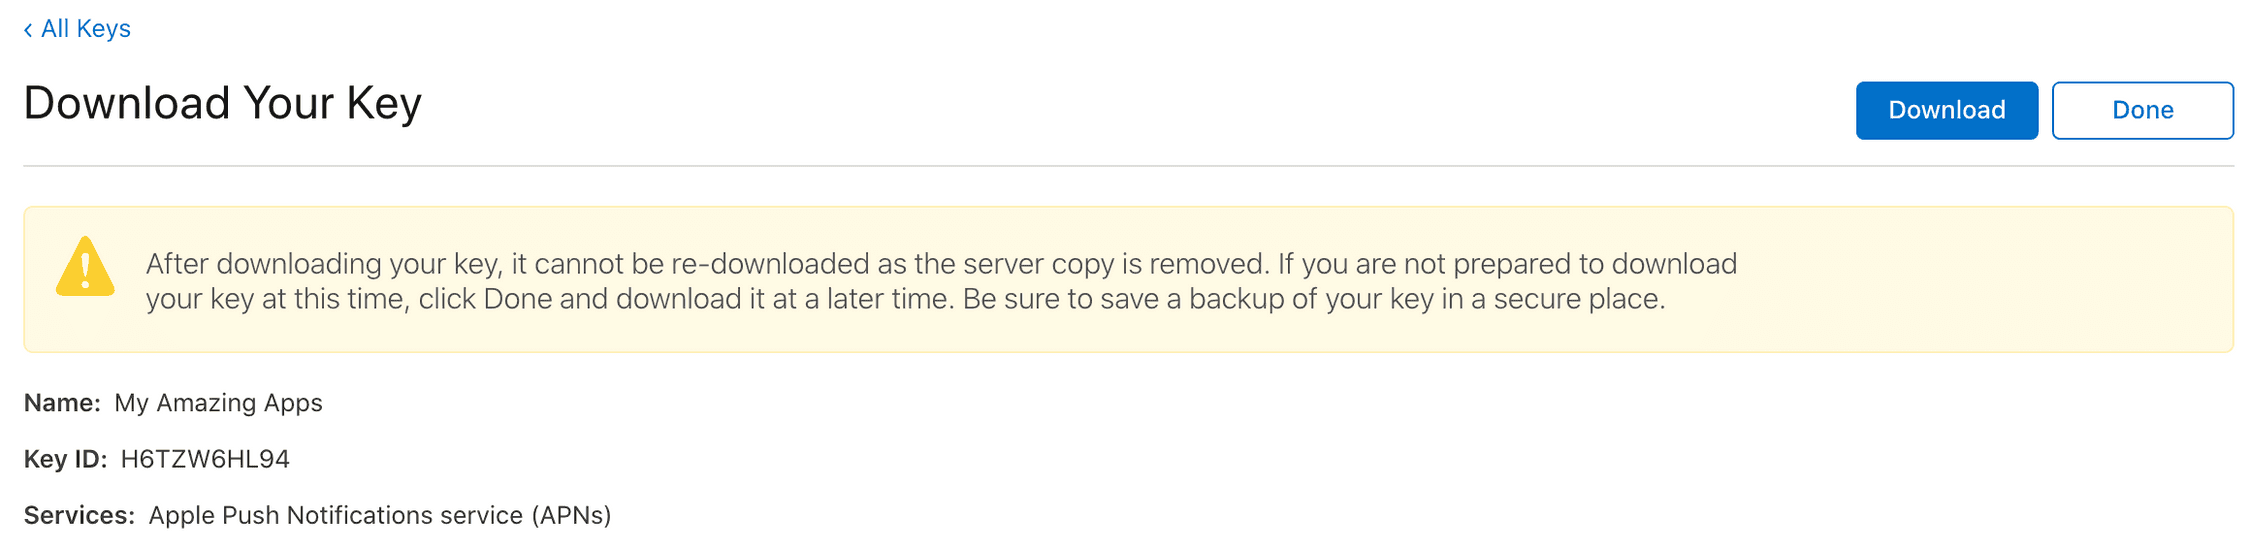
If you chose to download it, you will have now a .p8 file ready to be given to the Actito team. This will allow us to send notifications to your application.
Please provide this .p8 file to the Actito team so they can finalize the configuration of your integration.
To share sensitive elements like the SDK files or keys for the Android/Huawei/iOS platforms, we use Actito's Transfer Box.
Once Actito have received the .p8 and finalized the integration, they will provide you with the SDK configuration file. Keep reading our Implementation guides located here.